Showing posts with label sewing. Show all posts

Wednesday, January 8, 2014

Busy Little Bee

Over the past month or so I have gone baby crazy. I've been making all sorts of different things I'm going to need for when baby comes!

Project 1: A Diaper Bag


Front View

 Back View


Inside and Side View

I used a Simplicity pattern that I got on sale for .99 cents. I needed 1.5 yards of both the outer fabric and the liner fabric, and accent ribbon. I already had on hand elastic and thread. In total, this bag cost me about $12 and about 5 hours of time. 

Project 2 : A Nursing Cover


 Front View


Secret Pocket View


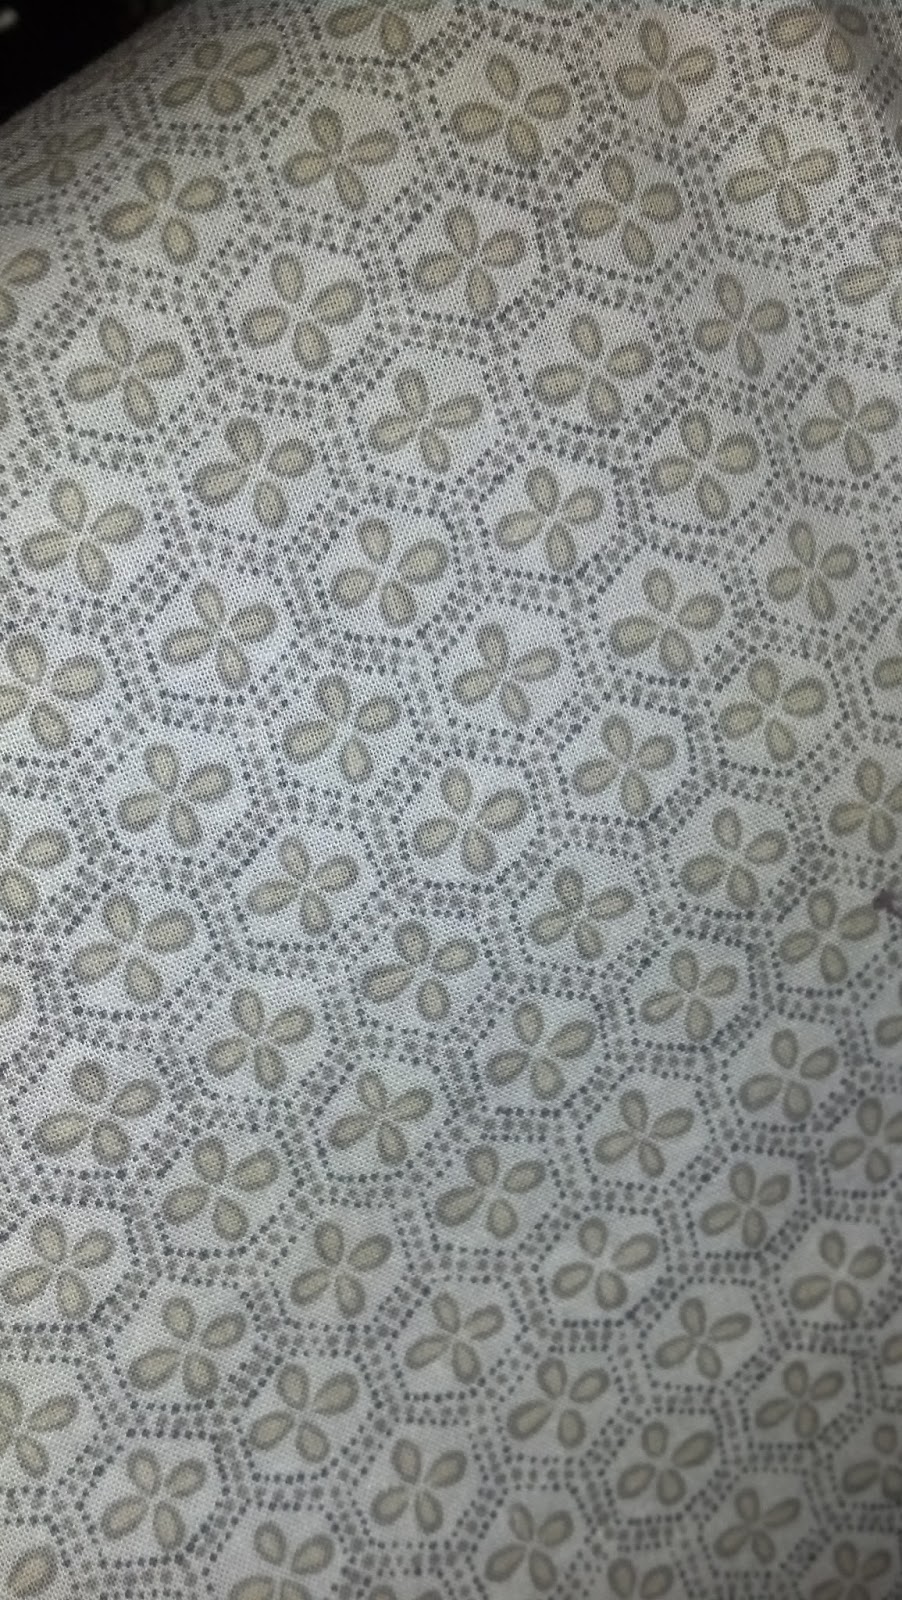
I had to share the pattern of the fabric because I am just so in love with it!

For this I also used a Simplicity pattern that I got for .99 cents! The great thing about Simplicity basic craft patterns is that there are 5 or 6 patterns in one envelope! This pattern was basically a square, but I used the pattern just to make sure I got everything cut straight. All I needed was 1 1/4 yard of fabric of the patterned fabric, 1 yard of the liner fabric, 1/4 boning, and 1 package of 1 in. D rings. This project cost me a total of $10 and about 1.5 hours of time. 

Project 3: Panel Book


Front View


Inside View

I swear, sometimes it is a bad thing I work at a craft store! This came up to the cutting counter and when I saw the price of $2.99 for a single panel, I just about died. I have been wanting to make one of these panel books for a long time, but I just couldn't justify $9.99 for a single panel/book, no thanks. Like I said, I picked up the panel for $2.99 (plus my employee discount), I already had interfacing, batting and thread. So, this project cost me $2.50 ish and about 1.5 hours to complete.

Project 4: Baby Bow Ties


I saw this tutorial on Pinterest and HAD to make some lil bow ties for my lil guy! The tutorial is very easy to follow, totally doable even if you don't have a sewing machine! I didn't buy any new fabric for this project, I used my scraps for each and every bow tie I made! Once I got the hang of making them it took me about 10 minutes to whip one together.

Project 5: Baby Blessing Outfit


To make this cute little vest I used this tutorial. The vest looks complicated and time consuming to make, but I promise you it ISN'T! For this project I already had the buttons and all the fabric I needed so again, this project was something I made purely from my scraps! The vest probably took me 30-45 minutes to whip together. This was such an easy project and I can't wait to make more for all occasions.

Wednesday, November 20, 2013

DIY Cloth Wipes

For quite awhile now I have been thinking about and researching cloth diapers. I've been excited about how much money they save and the numerous pros they have for the child ( fewer diaper rashes, help with potty training earlier, etc.). It has been so interesting looking at different diaper brands and all the different versions of diapers, I have learned so much, but I won't go into that now.

A couple of weeks ago I was watching a video laying out the top 5 best accessory type things to have to help make the cloth diapering lifestyle easier/better. One thing the video talked about were cloth wipes and I thought that that was a genius idea! I waited until the flannel at JoAnn's was on sale and then I took the leap and bought some to make my own cloth wipes. Here is a quick overview of what I did and how they turned out.

I bought a quarter yard (9 inches) of about 12-13 printed flannels and 3 solid flannels which ended up being about $12 in total. I figure if I don't like the whole cloth wipe thing there wasn't a huge investment in them, no harm, no foul. Once I got home with the fabric I pre-washed it to get any of the shrink out.


After everything was all washed and dried, I measured and cut my fabric. I did 8x8 squares, with a couple smaller and larger pieces to use up my fabric. I was able to get about 5 squares with each quarter yard. I tried to use two of the same printed flannel for one wipe, but there were a few odd pieces that I backed with a solid color flannel.


Once all my squares were cleaned up and cut I sewed two squares right side together.


Once all THAT was done, I turned them all right side out, pressed them, and sewed a little edging on to give them that polished look.


Monday, December 3, 2012

My T-Shirt Quilt

I'm going to start off by saying that this is NOT a tutorial, but I will make links to all the tutorials I used to help me piece together this project.

After Jordan and I got married we didn't have all the furniture we'd hoped we have, so we had to go out and purchase those plastic drawer sets from Walmart. It turns out that you can't fit a whole lot in those things so I had to truly downsize my "collection" of shirts from high school. I could not bear to get rid of them or throw them out because of their sentimental value so I just put them in a plastic bag and hid them in the closet. There they sat for a year, then we moved down to Texas and again...there they sat.

After Jordan and I took over the business I was working at our drop location, which provided a lot of down time, so I finally made up my mind that I would FINALLY start working on my quilt with all that down time.

The first step was to cut out squares from my T-shirts. Once my squares were cut out I ironed on a fusible interfacing. 

The next step was to lay out my shirts and decide on how I wanted the top of my quilt to look.


It took me a few attempts to get it just right. Once the layout was what I wanted it to be I sewed each square together horizontally, ironed the seams, then sewed each row together, ironed the seams again and my top was complete. The next step was to sew my border, put on batting, and sew on my backing. The tutorial I used suggests cotton fabric for both the border and the backing, but I used flannel for my border and a minky/ furry fabric for my backing.

Once I had my border sewed on to my top I then used a basting spray (it is like a glue spray that holds the batting in place while you sew and then comes out once you wash your project) to temporarily hold my batting in place while I got my backing situated and sewed on. Hooray! My quilt was almost done! Once my quilt was turned right-side-out I sewed the turn hole shut. Next, I needed to make sure my back and my front wouldn't separate in the wash or while in use so I sewed along the border and also along the seam of each square just to secure the fabric and voila! I'm done!


This was my very first quilt I started and finished and I'm really proud of my work. Yes, there are a couple mistakes and a few things I would do a little different next time, but overall I'm so glad I saved my sentimental shirts and made them into something I can snuggle up in and share with my children in the future!!

This site is a REALLY great source of information. I followed this tutorial almost exclusively. If you have any questions on how to do something or want to do things a little different I would search for other tutorials, there are lots. I liked the one I linked because she did a really good job with all the details and pictures. There are so many variations to this quilt, so if you want to do a T-Shirt Quilt do a little brainstorming and figure out what you want your quilt to look like and search for a tutorial from there!

Whew, I can FINALLY check that project off of my list!